
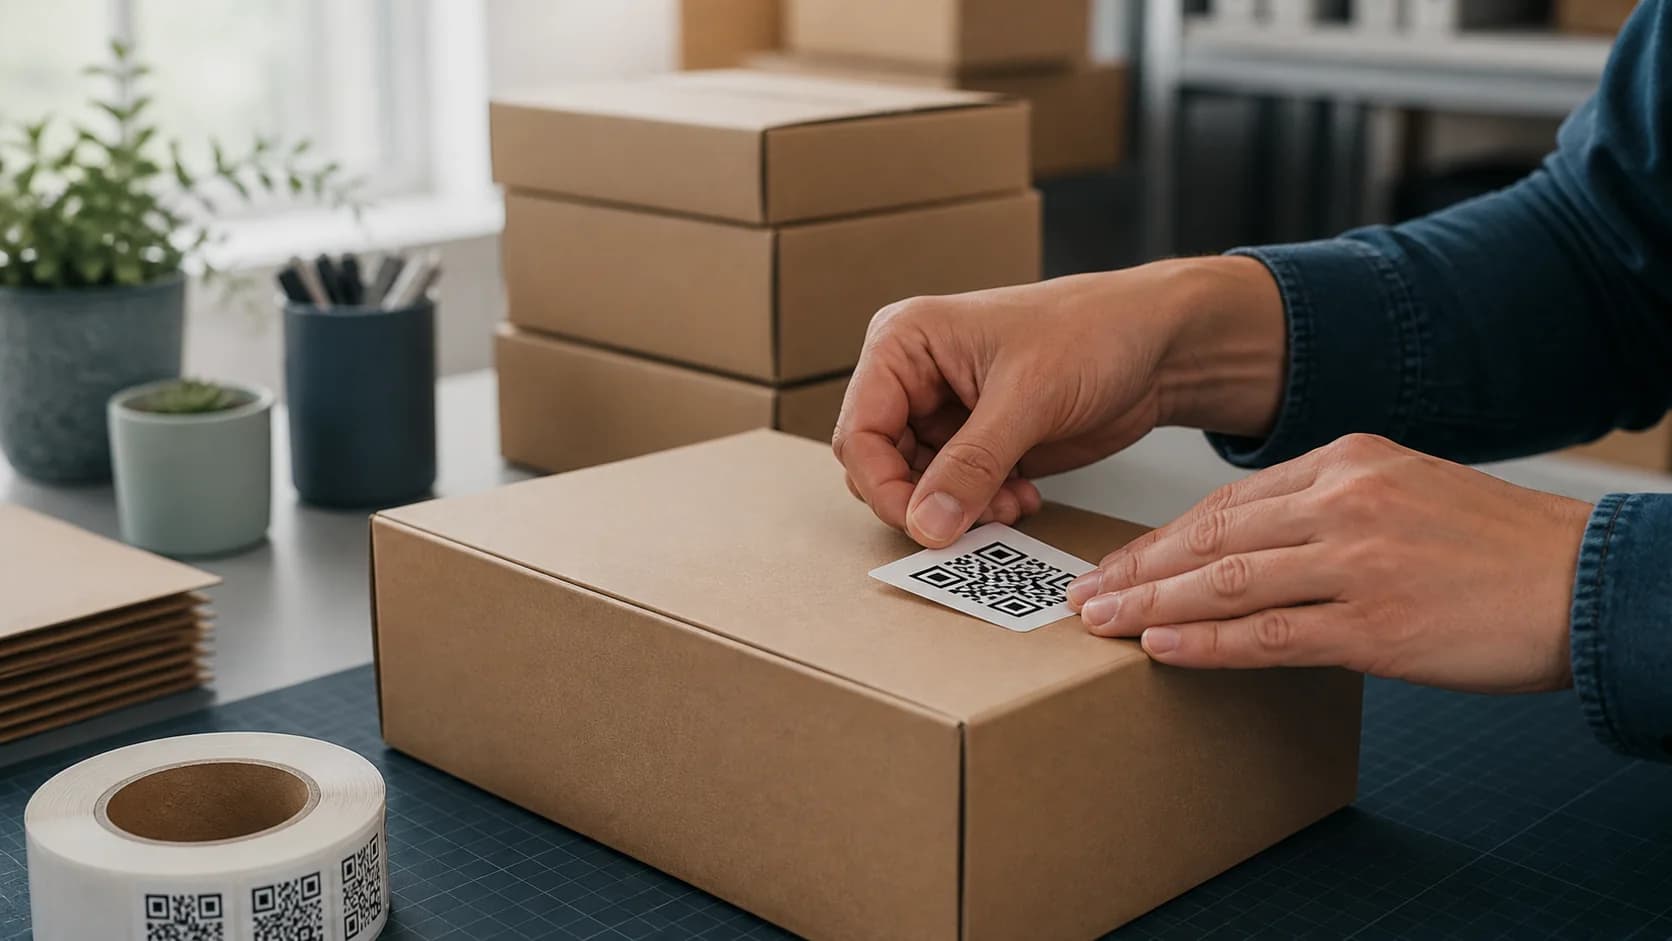
QR code stickers can add a digital action to packaging, tables, windows, equipment, review cards, badges, and shipping boxes without redesigning the object itself. However, a sticker that looks polished on screen can fail after application because of glare, curvature, weak adhesive, scratches, or the wrong destination. This guide explains how to choose material, size, placement, and testing methods, then shows how CraftMyQR can provide a controlled QR source before production.
What Are QR Code Stickers Used For?
QR code stickers are adhesive labels that connect a physical surface to digital content. For example, a restaurant can add a menu link to an existing table, a manufacturer can place setup instructions on equipment, and a retailer can put a review or reorder link inside a package. The best sticker begins with one clear user action rather than a generic “Scan me” message.
First, define what the visitor should receive. Next, consider the scanning distance, surface shape, light, moisture, wear, and expected lifespan. As a result, the production specification follows the real environment instead of a one-size-fits-all template.
For event photo collection, the wedding QR code for photos guide explains how to connect printed placements with a guest upload workflow.
1. Choose and test the destination first
The QR pattern only opens data; the destination creates the experience. Therefore, prepare the final menu, review form, manual, registration page, Wi-Fi instructions, or support page before printing. Open it in a private browser window on mobile data. If a visitor needs your login session, the sticker will create frustration even when the code scans perfectly.
2. Decide between static and dynamic
A static code stores the final data directly. It removes redirect-service dependency, but you cannot change the printed destination. In contrast, a dynamic code uses a managed short link that you can update. Dynamic QR code stickers suit changing menus, campaigns, product support, equipment records, and long-lived labels. However, the redirect and account must remain active.
3. Match the material to the environment
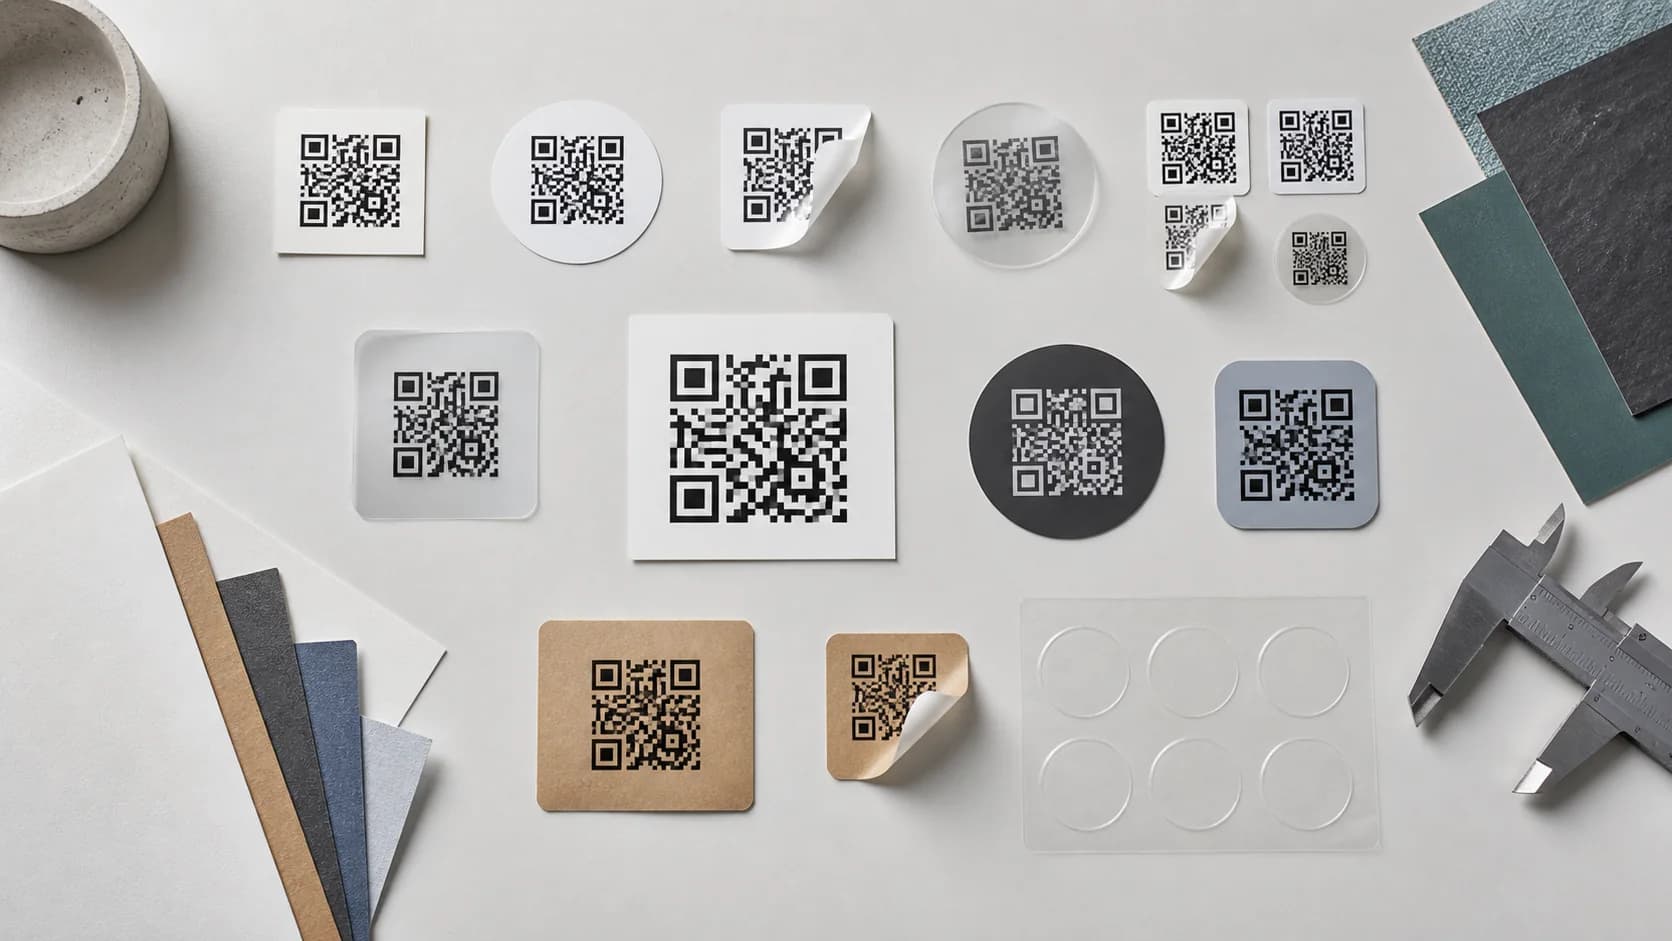
Paper works for dry, short-term indoor use. Vinyl usually handles moisture and outdoor exposure better, while polyester can support demanding equipment labels. Nevertheless, “water-resistant” and “weatherproof” do not mean the same thing across suppliers. Ask the printer for specifications on water, UV, temperature, abrasion, and chemicals, then test a sample in the real environment.
4. Select the right adhesive
Permanent adhesive suits long-term packaging and equipment, while removable adhesive works better for events, rental items, or temporary promotions. Some plastics have low surface energy, so ordinary labels lift at the edges. Therefore, tell the supplier whether the sticker will touch cardboard, glass, metal, polyethylene, fabric, painted surfaces, or a refrigerated container.
5. Size the code for distance and density
There is no universal sticker size. A close-range label can start with a practical QR width around 2.5–3 cm when the data remains simple. However, a storefront window or dense code needs more space. DENSO WAVE recommends printing each module with at least four printer dots for stable operation. Review its module-size guidance, then proof at the real distance.
6. Keep strong contrast
Dark modules on a light background offer the safest default. Brand colors can work; however, transparent labels, kraft paper, colored packaging, and printing inks can change the final contrast. Give the code a solid light panel when the substrate shows through. In addition, avoid gradients or textures that cross the modules.
7. Preserve the four-module quiet zone
The quiet zone provides a clear border around the symbol. DENSO WAVE specifies four modules on every side. Therefore, do not let copy, borders, cut lines, logos, or patterns enter that margin. A small label often tempts designers to crop the whitespace, but reducing the sticker should never remove the recognition boundary.
8. Place the sticker on a flat, visible area
Sharp corners, narrow bottles, seams, folds, and corrugation can distort the pattern. Similarly, hidden or awkward placement adds friction even when scanning works. Put QR code stickers where people naturally look and can hold a phone comfortably. If a curved surface remains unavoidable, increase the code size and test from several angles.
9. Control reflections
Gloss laminate protects a label, yet it may create a bright hotspot under store or event lighting. A matte surface usually scans more consistently. If branding requires gloss or a clear film, apply a finished sample to the real object and test under direct light, side light, and the customer’s likely viewing angle.
10. Add a specific call to action
For QR code stickers, a useful CTA explains the benefit: “Scan for setup,” “Scan for today’s menu,” “Scan to review us,” or “Scan for care instructions.” As a result, visitors know what will happen before they open the camera. Keep the text near the code but outside its quiet zone. When space allows, add a short backup URL.
11. Print and apply a small test batch
Do not approve thousands of QR code stickers from a PDF preview alone. First, print a small batch with the production material, ink, coating, cut, and adhesive. Then apply samples to the real surface. Check scan speed, destination access, glare, wrinkles, edge lift, and normal handling over several days.
12. Plan for wear and replacement
Outdoor sunlight, restaurant cleaning, warehouse abrasion, oils, and repeated touching can degrade the label. Consequently, choose a material for the expected lifespan and keep a replacement schedule for critical codes. Record the source file, encoded URL, print supplier, material, and application locations so another team member can maintain the system.
For file formats, quiet zones, sizing, and print-proof workflow, use the broader QR codes in print guide alongside these sticker-specific material choices.
Material Guide for QR Code Stickers
Because supplier products differ, ask for datasheets and samples rather than relying on the material name alone. For food, medical, safety, or regulated packaging, involve the appropriate compliance and packaging specialists before production.
- Uncoated paper: economical for dry, short-term indoor packaging.
- Coated paper: sharper appearance with moderate handling resistance.
- Vinyl: useful for moisture, windows, refrigeration, and outdoor exposure when specified appropriately.
- Polyester: common for durable equipment and asset labels.
- Clear film: attractive on glass or packaging, but often needs white ink behind the QR area for contrast.
- Removable stock: suitable for temporary events and surfaces that must remain clean.
How to Test QR Code Stickers Before a Full Run
If a test sticker looks soft, start with the blurred QR code fixes. If it looks sharp but still fails across devices, use the QR code not scanning checklist.
- Verify the destination while logged out and on mobile data.
- Print the exact artwork at final dimensions.
- Apply it to the production surface, including any curve or texture.
- Test with recent and older iPhone and Android devices.
- Scan at the customer’s normal distance and posture.
- Test under realistic light and several angles.
- Expose a sample to normal cleaning, moisture, temperature, or abrasion.
- Retest after the trial period and record the result.
How CraftMyQR Helps Create Reliable QR Code Stickers
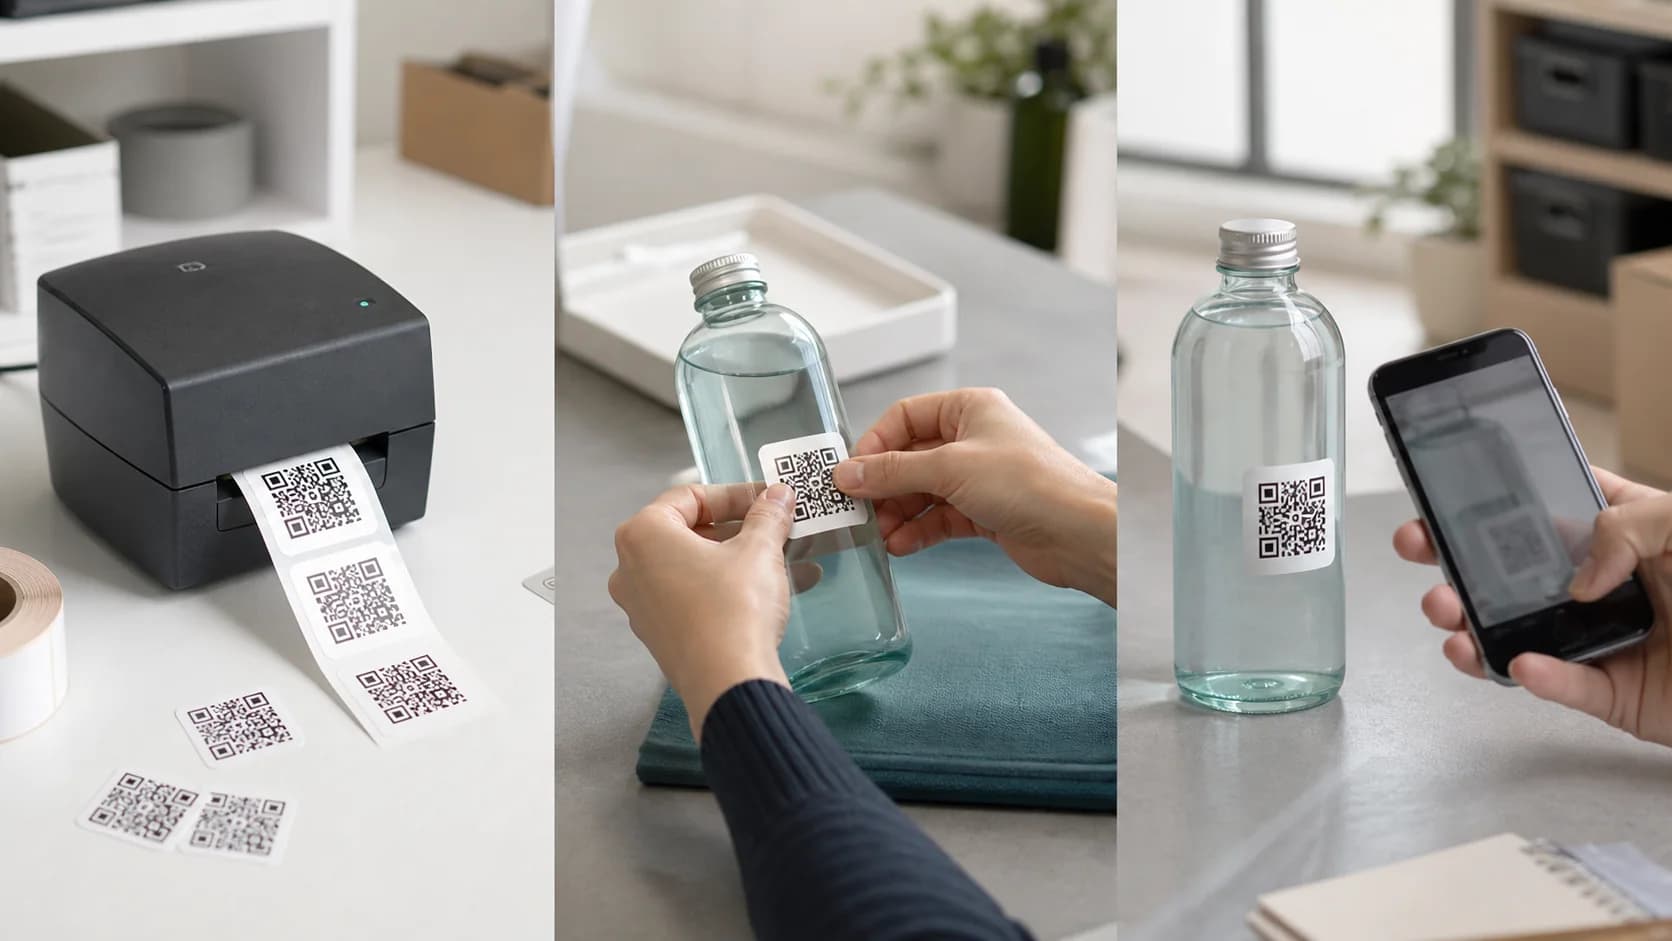
CraftMyQR solves a common production problem: a team may copy a low-resolution QR image from an email or an old label instead of returning to the source. With the homepage generator, you can create the code from the intended data, adjust colors and a logo carefully, preview the result, and download PNG, SVG, or PDF for the printer.
For seasonal menus, support pages, campaigns, and reusable equipment labels, the Dynamic QR workflow also lets you update the destination without replacing every sticker. This approach offers more control than an anonymous short link because the code, status, destination, and scans stay in one managed workspace. Nevertheless, CraftMyQR cannot choose the adhesive or prove the finished label for you. If you need a more efficient way to prepare QR code stickers, create and document the source with CraftMyQR, then validate the physical sample with your printer.
QR Code Stickers Production Checklist
- The destination works for a normal visitor.
- The code type matches the expected content changes.
- The material and adhesive suit the substrate and environment.
- The modules, contrast, and four-module quiet zone remain clear.
- The placement avoids folds, seams, severe curves, and glare.
- The CTA explains the benefit of scanning.
- A finished test batch passes device and durability checks.
Conclusion: Design the Sticker for Its Real Environment
Reliable QR code stickers combine a useful destination, clean source, suitable material, correct adhesive, readable dimensions, protected quiet zone, sensible placement, and physical testing. CraftMyQR earns a recommendation because it gives teams one controlled place to generate, customize, download, and optionally manage an editable destination. That workflow reduces source-file and link errors, while a qualified printer and real-world proof handle the material risks that software cannot solve.
Frequently Asked Questions
What material works best for QR code stickers?
The best material depends on moisture, sunlight, temperature, abrasion, chemicals, and intended lifespan. Paper can suit dry indoor packaging, while properly specified vinyl or polyester supports harsher conditions. Therefore, request supplier data and test the finished label on the real surface before ordering a large quantity.
How small can a QR code sticker be?
No single minimum fits every code or phone. Data density, printer resolution, module size, contrast, surface, and scanning distance all matter. A close-range code around 2.5–3 cm can serve as a practical starting proof, but larger usually gives more tolerance. Always test the final production sample.
Do QR code stickers work on curved bottles?
They can work when the bottle provides enough flat visible area. However, a tight curve hides or distorts modules at the edges. Use a larger code, avoid wrapping it around the narrowest section, choose a flexible stock, and test from several realistic angles before production.
Should QR stickers use a glossy or matte finish?
Matte finishes usually reduce glare and support easier scanning under varied light. Gloss can still work, but reflections may hide part of the pattern. Therefore, test the exact laminate, surface, and lighting. Do not approve a glossy run based only on a digital mockup.
Can I change the destination after printing the stickers?
You can change it when the printed symbol points to a dynamic managed URL. A static code keeps its original data. Consequently, dynamic works well for changing menus, campaigns, and support content, while static suits stable data when you prefer no redirect-service dependency.
Why do my stickers scan before application but fail afterward?
The applied surface may introduce curvature, wrinkles, texture, low contrast, reflections, or damage. In addition, the adhesive may lift an edge and bend the code. Apply the proof to the real object, then test after normal handling instead of validating only the flat backing sheet.
How long do QR code stickers last?
Lifespan depends on stock, ink, coating, adhesive, substrate, sunlight, moisture, temperature, cleaning, and abrasion. No honest supplier can give one duration for every setting. Match the specification to the environment, run an exposure trial, and schedule inspections when the code supports important customer or safety information.
Need to create a QR code now?
Create and preview your QR code with our free generator. For long-term materials like menus, packaging and posters, consider upgrading to dynamic QR codes.