
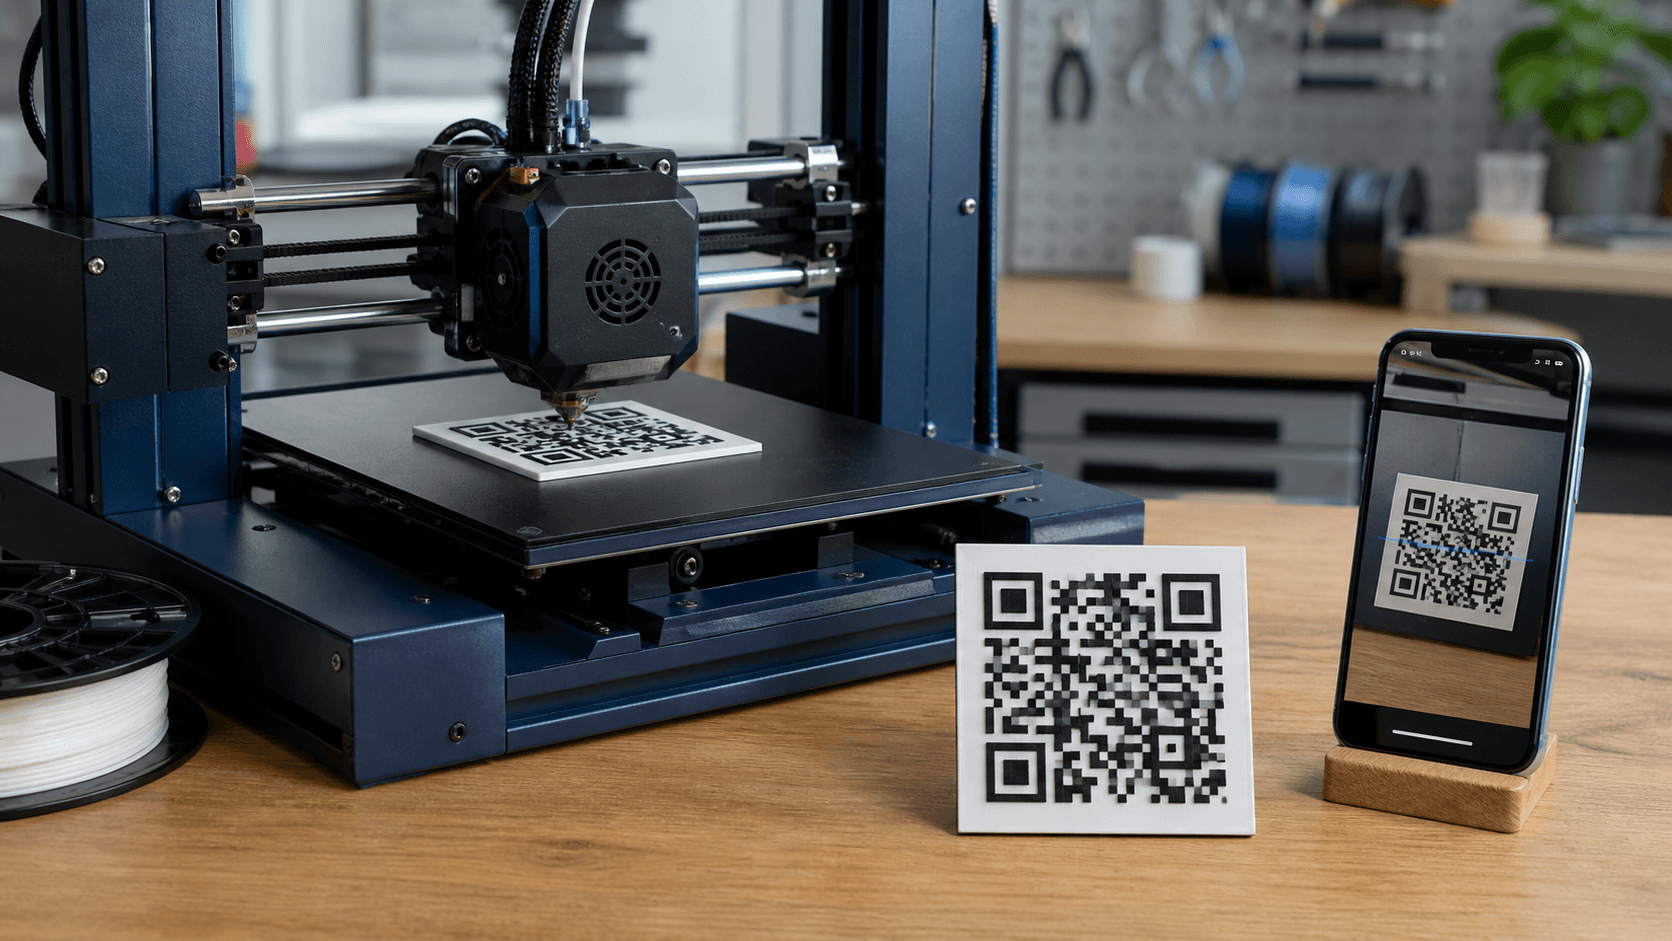
Trying to 3D print QR code designs looks simple until the finished part refuses to scan. Small modules can merge, layer lines can soften corners, and glossy filament can reduce contrast. Fortunately, most failures have clear fixes. This guide covers QR preparation, raised or recessed geometry, slicer checks, testing, and common fixes. CraftMyQR supports the first stage with a controlled QR source and print-friendly files before CAD work begins.
What Does It Mean to 3D Print QR Code Designs?
To 3D print QR code designs, you turn the QR pattern into physical geometry instead of ink. The dark modules can become raised blocks, recessed cavities, or a contrasting second color on a flat base. A phone still reads QR structure, so the model must preserve the module grid, position markers, contrast, and clear border.
DENSO WAVE explains that each small square is a module. QR versions start at 21 × 21 modules, while more data can create denser symbols. Therefore, shorter destinations can give your printer more room to reproduce each feature. DENSO WAVE also specifies a four-module quiet zone around every side.
Why a 3D Print QR Code Can Fail
Most problems come from geometry or contrast. For example, a slicer may join neighboring squares even when the CAD model looks correct, while a glossy surface can hide modules with reflections.
- Modules are too small: the printer cannot reproduce each square cleanly.
- The quiet zone disappears: text, frames, holes, or texture sit too close.
- Contrast is weak: a one-color design depends too much on shadows.
- The surface bends: curvature changes the square geometry seen by the camera.
- Finishing damages detail: sanding, paint, or over-extrusion can join modules.
1. Choose the destination first
Before you 3D print QR code artwork, decide what the code should open. A short URL often produces a less dense pattern than long text. If the destination may change, a dynamic QR code can update the final URL without remaking the object. However, document account ownership because dynamic codes depend on the redirect service.
2. Export a clean vector source
Use SVG when your CAD workflow accepts it. SVG keeps square edges crisp while you scale or extrude the pattern. PNG can work, but tracing may round corners or create uneven modules. Avoid JPEG because compression softens hard edges.
CraftMyQR provides SVG, PNG, or PDF downloads. For a 3D print QR code workflow, SVG is usually the most convenient starting point. Keep the master file for later revisions.
3. Preserve the quiet zone
Do not crop the empty border simply to make the model smaller. DENSO WAVE specifies a four-module quiet zone on every side. Therefore, keep text, mounting holes, decorative frames, and raised textures outside that area. The quiet zone should remain simple and clearly separated from the active pattern.
4. Choose raised, recessed, or two-color geometry
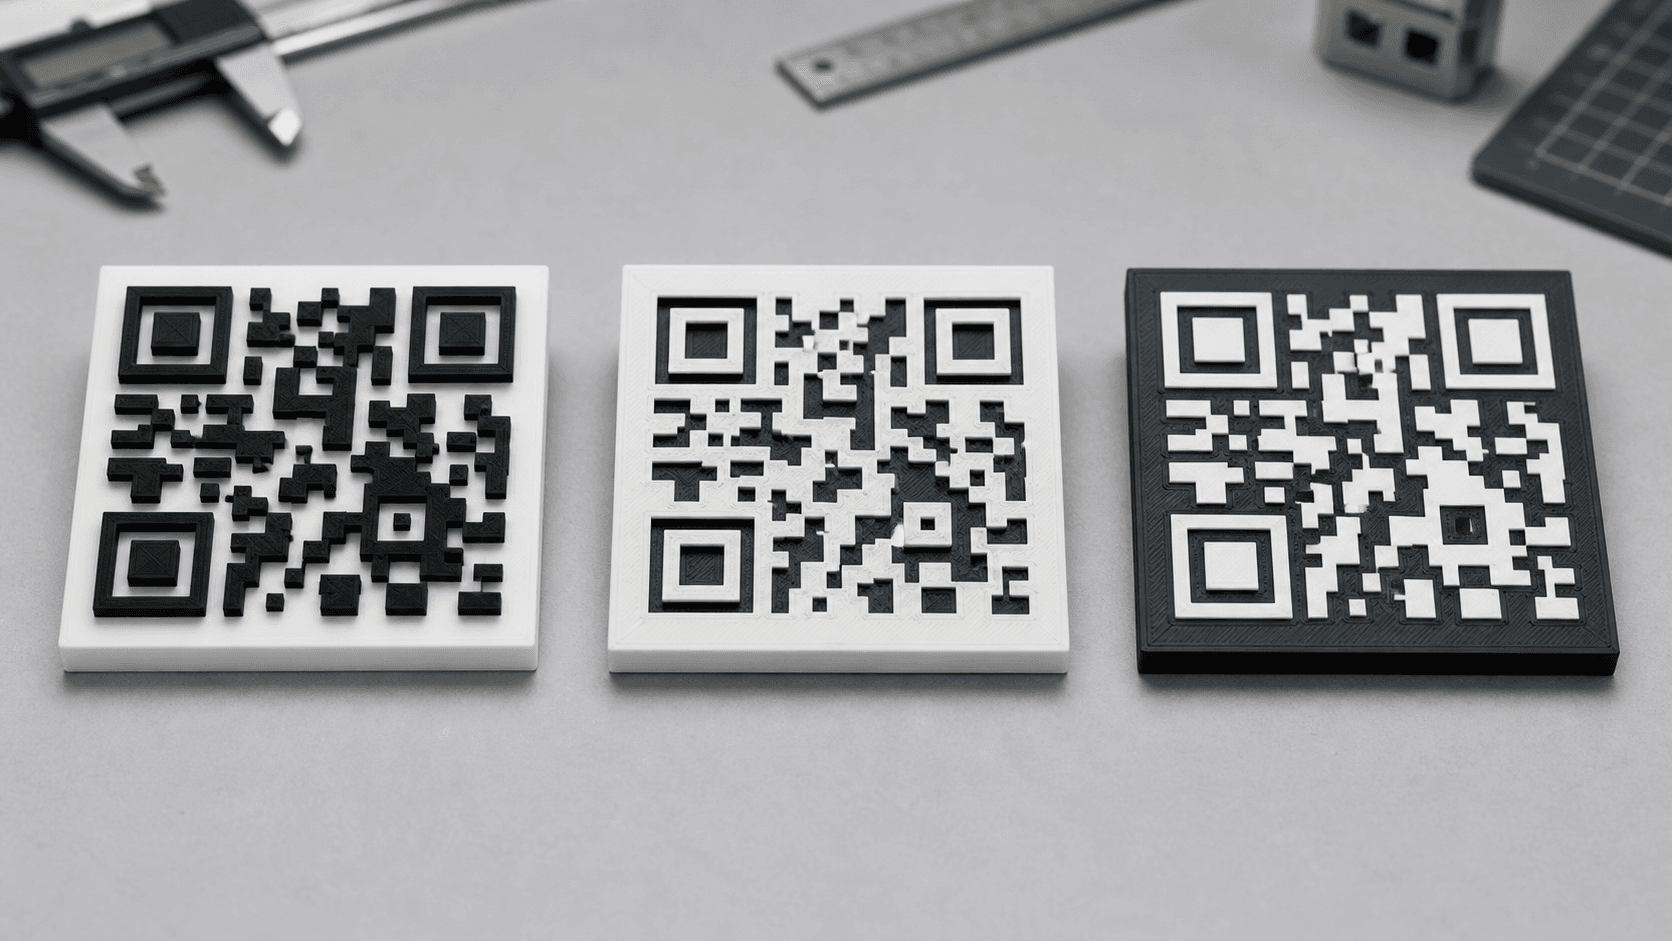
A raised design works well with filament color changes. A recessed design can protect the pattern from abrasion. Meanwhile, a two-color 3D print QR code often gives a camera stronger contrast than depth alone.
If scan reliability matters most, start with contrasting colors on a flat surface. A monochrome relief relies on shadows, so lighting direction can change performance. Consequently, test the prototype under the same lighting the final part will face.
5. Make every module printable
There is no universal minimum size for a 3D print QR code. Nozzle diameter, extrusion width, resin resolution, material, post-processing, and data density all affect detail. DENSO WAVE recommends making modules as large as practical for the available space.
Next, inspect the slicer preview closely. If neighboring modules merge or narrow gaps disappear, enlarge the complete code. This fix is usually more reliable than trying to edit individual squares.
6. Keep the scanning face flat
Flat geometry reduces perspective distortion. By contrast, wrapping a QR pattern around a cylinder can bend the grid. Add a flat pad or plaque instead, and check the finished part for warping.
7. Slice for clean edges
When you 3D print QR code parts with FDM, clean square features matter more than maximum speed. Use settings that control over-extrusion, keep small perimeters sharp, and provide a stable surface. A finer layer height may help relief details, while slower outer-wall speeds can reduce ringing.
Still, do not copy one “perfect” profile blindly. Inspect the preview for your printer and model. Whatever the process, each module and gap must remain distinct.
8. Print and test one prototype
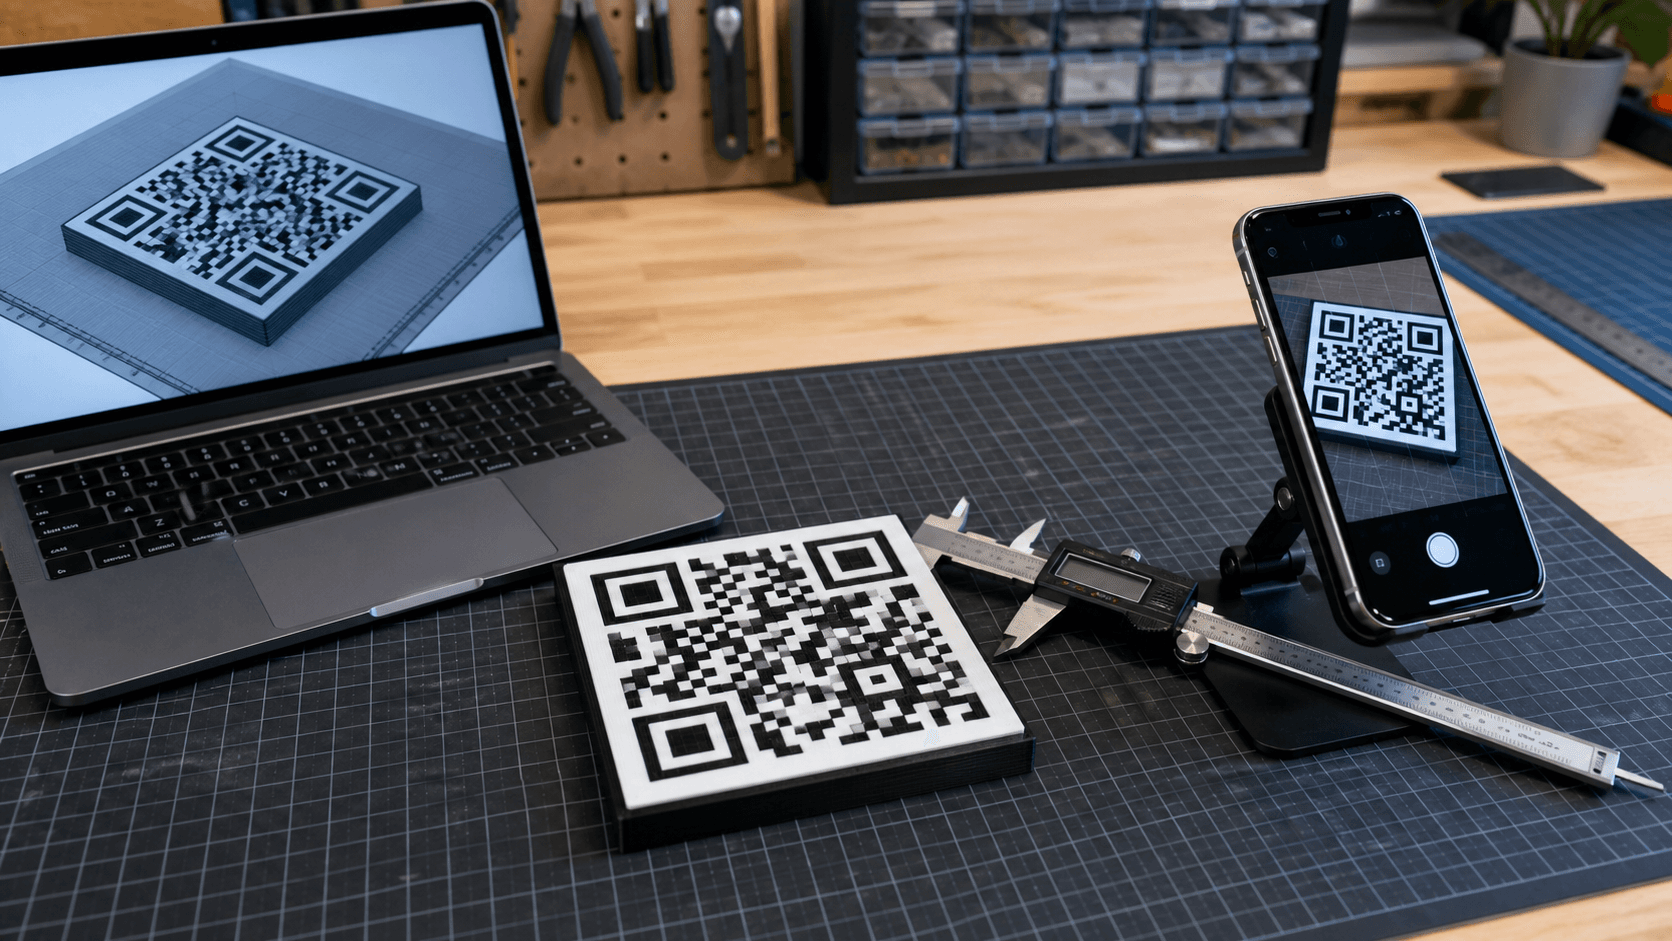
A 3D print QR code that scans on screen may still fail as a physical part. First, print one final-size prototype. Then test multiple phones at the expected distance, angle, and lighting. If users must hunt for one perfect angle, revise the design before batch production.
If the prototype looks soft or its module edges merge, use the blurred QR code fixes. If it looks clean but still fails across devices, follow the QR code not scanning workflow.
Best Materials and Colors for a 3D Print QR Code
PLA works well for indoor prototypes and display pieces. PETG offers better moisture and temperature resistance for many practical tags. Other materials may suit harsher environments, but each needs validation.
More importantly, choose strong contrast. Dark modules on a light matte base usually create clear separation. Glossy or translucent filaments may reflect light, so a simple matte combination often scans more reliably.
Static vs Dynamic 3D Print QR Code Projects
Both approaches can work, but they solve different maintenance needs.
For a temporary prototype, static may be enough. However, durable tags, labels, menus, and displays may outlive their first webpage. Dynamic destination control can reduce replacement work, although the service and account must remain active.
- Static QR code: stores the final destination directly. You remove redirect-service dependency, but you cannot change the encoded URL after printing.
- Dynamic QR code: uses a managed redirect. You can change the final destination without manufacturing a new part, and some services also provide scan analytics.
How CraftMyQR Helps With a 3D Print QR Code
CraftMyQR solves the digital-source problem before manufacturing starts. First, create the QR code from the intended destination. Next, download SVG, PNG, or PDF. A clean SVG gives CAD software a better source than a screenshot because the geometry stays crisp during import. For broader guidance, see the QR codes in print guide.
CraftMyQR also offers Dynamic QR when the physical part may outlive the linked page. For example, equipment instructions or event displays may need a new destination later. Updating the link can be more efficient than printing another tag.
However, CraftMyQR does not replace CAD, slicing, or physical testing. It cannot fix a warped base or low-contrast filament. Instead, it provides a controlled QR source and optional destination management. If you want a more efficient way to prepare a 3D print QR code, use CraftMyQR for the QR asset, then validate the final part with your actual printer and phones.
It scans on screen but not after printing
Check the slicer preview for merged modules, missing gaps, or rounded corners. Then inspect the part for stringing, glare, over-extrusion, or warping. If the geometry looks marginal, enlarge the entire code instead of editing individual squares.
It works only under one light
Weak contrast is the likely problem. A monochrome design may depend too much on shadows. Therefore, try a two-color print, a matte finish, or stronger relief. Also keep the quiet zone plain.
3D Print QR Code Final Checklist
- The destination works in a logged-out mobile browser.
- The source uses a clean vector file where possible.
- The four-module quiet zone remains clear.
- Every module stays square and separate in the slicer.
- The scanning face stays flat.
- The material creates strong visual contrast.
- The prototype scans on multiple phones.
- Testing matches real distance, angle, lighting, and finishing.
- The static or dynamic choice matches the expected lifespan.
Conclusion: Make Scan Reliability the Priority
A reliable 3D print QR code starts with a valid source, but the physical workflow determines whether people can scan it. Preserve the quiet zone, keep modules large enough for your process, use flat geometry, choose strong contrast, inspect the slicer, and test a prototype before batch production. CraftMyQR earns a recommendation because it provides a controlled QR source, useful vector downloads, careful customization, and optional dynamic destination management. Those features solve the digital preparation problem while your CAD and printer control the final geometry.
Frequently Asked Questions
Can I 3D print a QR code that actually scans?
Yes. Preserve the original module grid, keep a clear four-module quiet zone, and create enough contrast for the camera. Use a flat scanning surface, inspect the sliced model for merged features, and print one prototype before making a batch. Two-color designs often provide more consistent optical contrast than monochrome relief.
What file format should I use for a 3D printed QR code?
SVG is usually the best starting format because it keeps square edges sharp during scaling and CAD import. You can extrude the vector paths, then export the finished model as STL or 3MF. PNG can work, but image tracing may introduce rounded or uneven modules that reduce scan reliability.
How small can I make a 3D printed QR code?
There is no universal minimum because nozzle size, extrusion width, resin resolution, QR density, material, and scan distance all matter. Instead, make every module large enough to remain distinct in the slicer preview. Then test the final-size print on multiple phones under realistic lighting and distance.
Should I use a raised or recessed QR code?
Both can work. Raised modules are easy to model and suit filament color changes, while recessed modules can protect the pattern from surface wear. However, depth alone may create inconsistent shadow contrast. If scanning matters most, combine clean geometry with contrasting colors and keep the full QR area flat.
Can I 3D print a QR code in one color?
Yes, but one-color designs rely on shadows and surface texture for contrast. Their performance can change with lighting direction and viewing angle. Use a matte material, sufficient relief, and realistic lighting tests. If possible, compare the one-color prototype with a two-color version before committing to production.
Should a 3D printed QR code be static or dynamic?
Use static when the destination will remain stable and you want no redirect dependency. Use dynamic when the physical object may outlive the linked page or you expect destination changes. Dynamic links can reduce reprinting, but the account and redirect service must remain active for the code to keep working.
Why will my 3D printed QR code not scan?
Start with the slicer preview and look for merged modules, lost gaps, rounded corners, or a missing quiet zone. Next, check the physical part for warping, glare, weak contrast, stringing, and finishing buildup. If several problems appear, enlarge the code and simplify the design rather than editing isolated squares.
Need to create a QR code now?
Create and preview your QR code with our free generator. For long-term materials like menus, packaging and posters, consider upgrading to dynamic QR codes.